
Factory Layout · VERIFIED WORKFLOW
Alchemy Factory Layout Guide: Modular Floors That Scale
Organize floors, logistics, and production modules so growth does not turn into spaghetti.
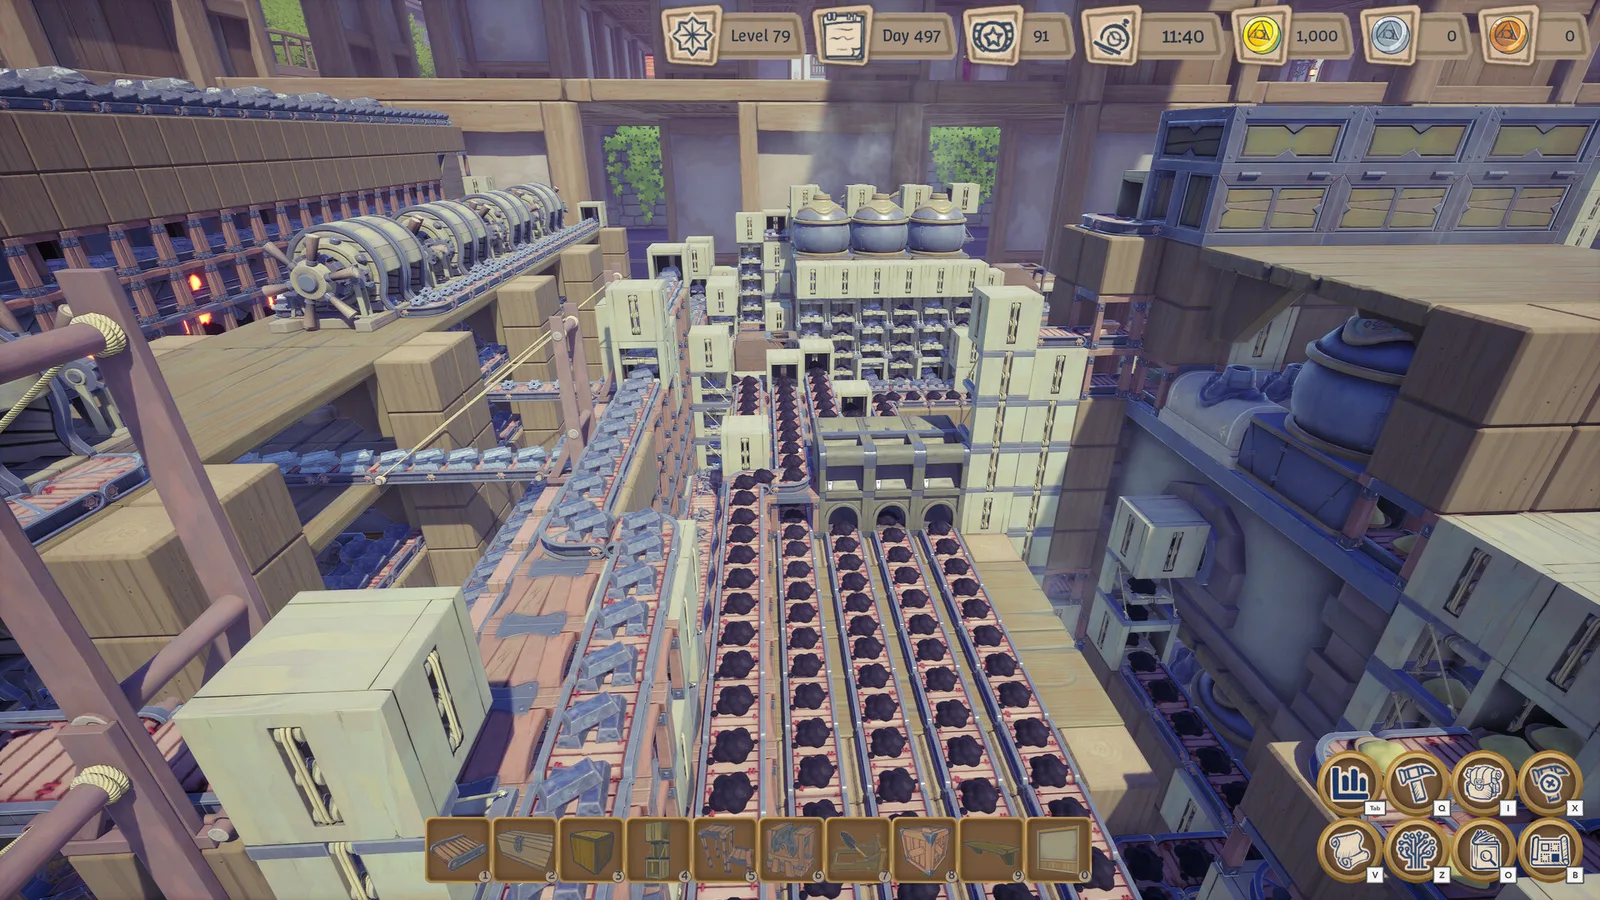
Alchemy Factory Layout Guide: Modular Floors That Scale
Evidence status: Verified from supplied long-form player footage. Checked 2026-09-11. Exact numeric recipes may change with patches.
Organize floors, logistics, and production modules so growth does not turn into spaghetti.
Quick answer
Build the smallest working version first, confirm that inputs stay supplied and outputs keep moving, then scale. Alchemy Factory rewards visible, modular logistics more than clever but fragile spaghetti routing.
Assign each floor a job
Large player factories become easier to manage when floors have a clear purpose: liquids, fuel/fertilizer, specific products, or shop support.
Prefer local support loops
The full walkthrough repeatedly avoids sharing support production across distant floors unless spare capacity is measured. This reduces hidden dependencies.
Leave vertical lanes
Reserve shafts for lifts, elevators, and future cross-floor routing before every tile is occupied.
Build for expansion
A compact early layout is not automatically a good late-game layout. Leave straight edges and service corridors where another module can attach.
Troubleshooting checklist
- Confirm the current patch and unlock state.
- Inspect the upstream input before rebuilding the output side.
- Check for full storage, blocked belts, or an empty support resource.
- Test one module in isolation.
- Scale only after the isolated module stays stable.
Source used
- Gold, Fuel, and Fertilizer Logistics Guide (With Full Walkthrough) — supplied transcript with timestamps.