Logistics · VERIFIED WORKFLOW
Alchemy Factory Cannons & Catapults Guide
Use long-distance item movement cleanly and understand when a launcher beats another belt.
Alchemy Factory Cannons & Catapults Guide
Evidence status: Verified from supplied long-form player footage. Checked 2026-09-11. Exact numeric recipes may change with patches.
Use long-distance item movement cleanly and understand when a launcher beats another belt.
Quick answer
Build the smallest working version first, confirm that inputs stay supplied and outputs keep moving, then scale. Alchemy Factory rewards visible, modular logistics more than clever but fragile spaghetti routing.
Why launchers are useful
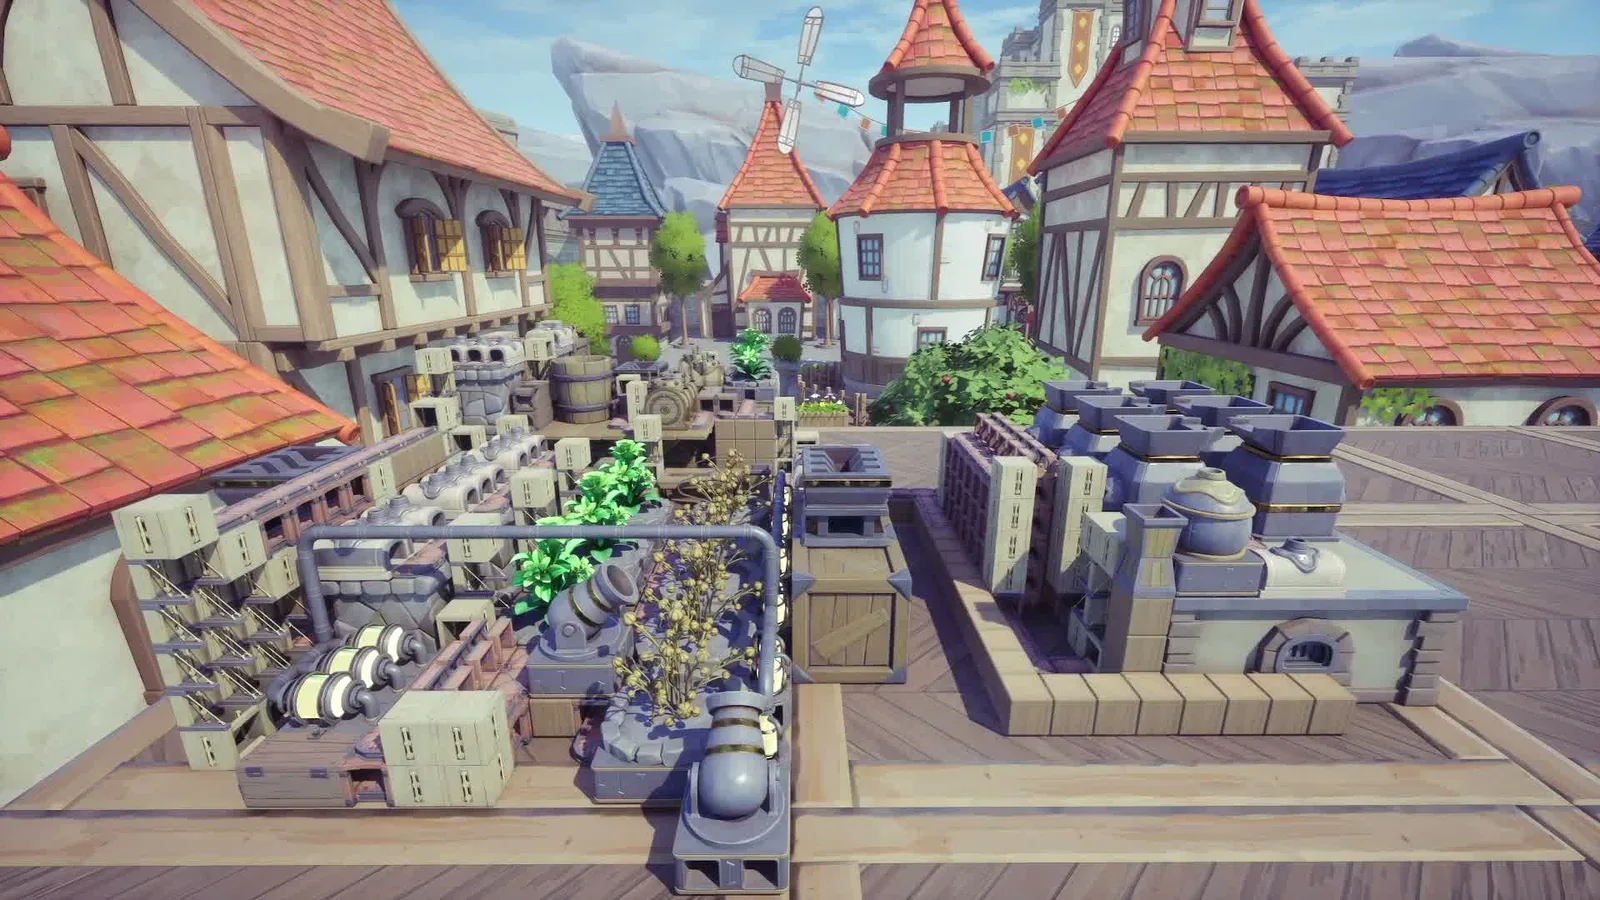
Player builds repeatedly use catapults and cannons to bridge awkward distances or elevation changes that would otherwise require long belt runs.
Give landing zones space
The receiving area needs enough room for collection and downstream routing. Do not aim directly into a crowded machine row.
Use them deliberately
Launchers are best when they simplify a difficult route. A simple straight conveyor is still easier to debug when distance and terrain allow it.
Test before mass routing
Send one resource type first and watch several cycles before moving critical production through the launcher.
Troubleshooting checklist
- Confirm the current patch and unlock state.
- Inspect the upstream input before rebuilding the output side.
- Check for full storage, blocked belts, or an empty support resource.
- Test one module in isolation.
- Scale only after the isolated module stays stable.
Source used
- Cannons are amazing | Alchemy Factory Mega Challenge - Part 12 — supplied transcript with timestamps.